
Setting Connect preferences: Invitation Letter
Use this section to set up the default emails that go to clients and resources when you invite them to start using RB Connect.
Step-by-step instructions
- On the left-hand side of the Connect Preferences screen, click Invitation Letter.
- In the Invitation Letter panel, the top pane is the Contact email template and the bottom pane is the Resource email template. To change the content of either template, click Edit.
- In either pane, edit Email Subject to change the text that will appear in the Invitation Letter Email’s subject line.
- In either pane, use the tools at the top of the Email Message section to draft an invitation letter email. The controls are similar to a basic word processor, and will even allow you to use merge data fields to give your email a personalized feel.
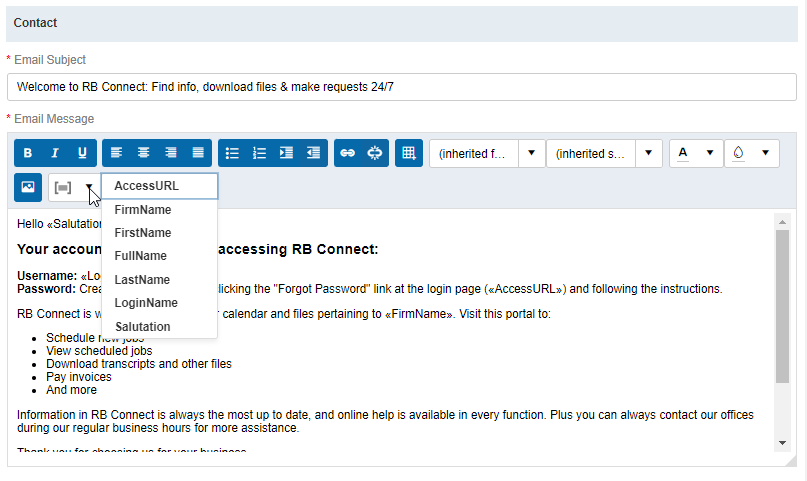
To add merge fields to the message section of a Invitation Letter Email template, click the drop-down arrow as shown below and select from one of the available merge fields.
- Click Save at the top right of the Invitation Letter panel to save your changes.