
Customizing Form Templates
RB gives you the ability to email and print forms and letters to clients, resources, and others. The forms and letters that are produced are all customizable to fit your business.
Forms that are important in day-to-day operations are Job Confirmations, Job Cancellations, Assignment Notifications, and Assignment Cancellations. You also have the ability to produce letters to contacts, witnesses, and others as well.
There’s a wide variety of the types of forms and letters you can set up in the Form Templates function. To make it easy to create your own forms, a set of default templates are included. The templates can be used as is or modified if needed. We recommend going through all the forms and letters and making them your own.
This section covers some of the basics for customizing forms in the Form Templates function. To access the Form Templates function, you must be logged in as a user belonging to a security group that is allowed to use the Form Templates function.
Step-by-step instructions
Click Tools > Form Templates to begin.
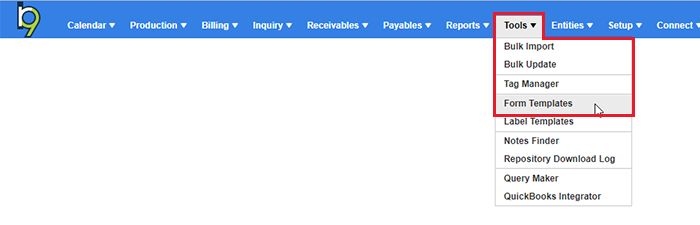
When you first open the function, the left side displays all the different Form Types in RB. Notice that some of the Form Types have folders underneath them. These are Form Groups. Each Form Type in the system can be further categorized by group if needed.
To create a new form group, click the Form Type on the left side you want to create a new group for, then click More > New Group.
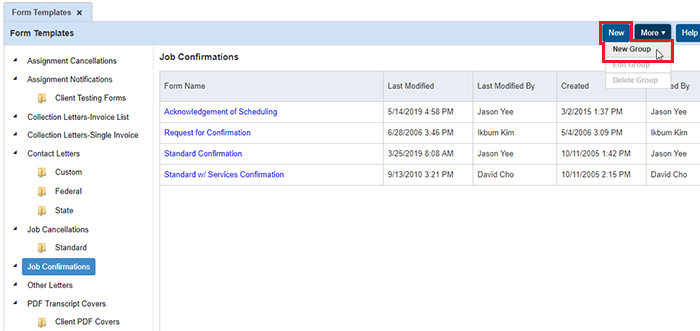
In the New Form Group section, simply create a Group name and save your change.
Back on the left side, if you click a Form Type (or any group underneath a Form Type), the forms within will display on the right side. In my example below, I clicked Assignment Notifications Form Type.
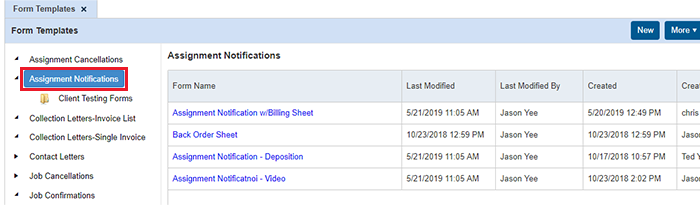
Click a form name to view its form. When you first open a form, you are in View Mode.
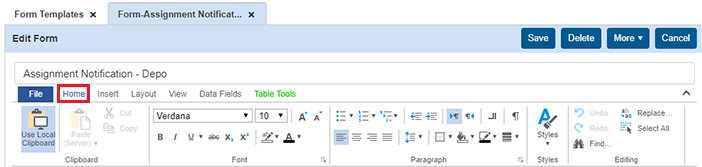
To enable editing, click Edit at the top right. The form opens in Edit Mode with a variety of word processor options.

The first menu to the very left is File. Within this menu, you have the following options:
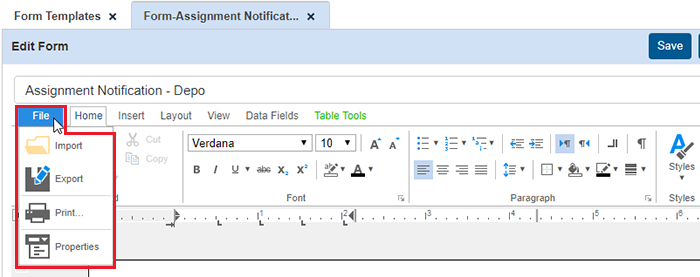
- Import – For starting with a template you created elsewhere, by selecting a pre-existing document saved to your computer.
- Export – For exporting the form in a variety of formats, such as PDF, Word, or text.
- Print – For printing the form.
- Properties – For changing the group the form is tied to.
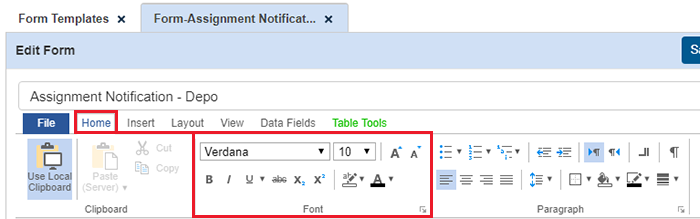
The Home menu gives you most common text controls present in word processor applications.
You can choose from a variety of font types, font sizes, and font colors, with the options to bold, underline and italicize text in the Font section.
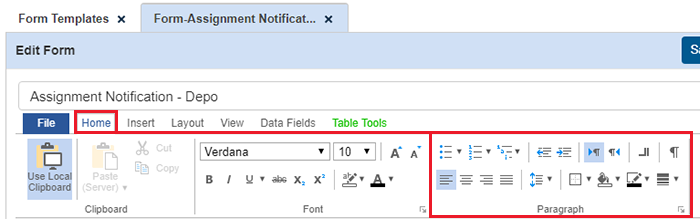
Set bullets, numbering, text alignment, and border control options in the Paragraph section.
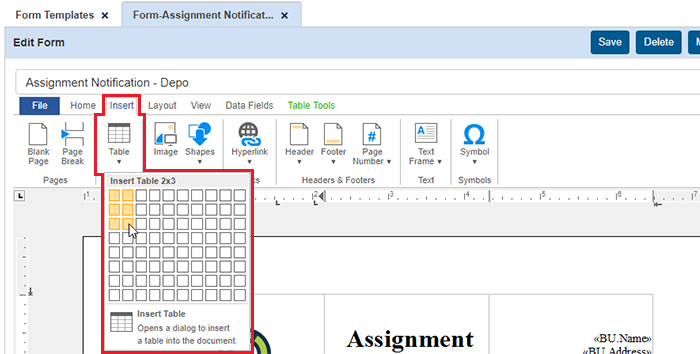
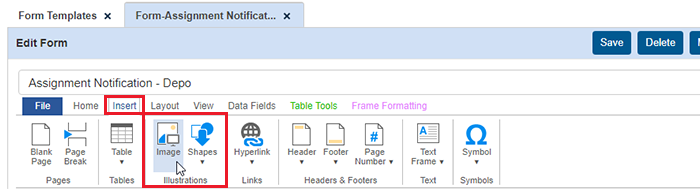
The next menu is Insert. Two of the more common options to add to forms are found in this section.
First is Tables. You can insert anything from a 1x1 to a 10x8 table.
Let’s say we want to insert a 2-column, 3-row table into a form. To insert a table, click inside the form and place your cursor where you want the table to be inserted. Then click Table and mouse over 2 column spaces and go 3 rows down. RB will highlight all columns and rows as you go over to the right and down.
The 2nd most common option is to insert your company logo in forms. By default, some of our templates have our company logo on the forms. At a minimum, you should delete our logo and upload your own to customize the form. First, click into the area where you want the logo to be added. Then click Image in the Insert menu. Select the image from your PC or network and click Open.
After inserting your logo, the size may need adjusting. Click on the inserted logo, the logo will highlight with squares at each corner. Those are the areas where you can click and drag the logo size to better fit the space allocated on the form.
We recommend grabbing one of the corners and resizing from there, because the image ratio will be resized according to the original image and not distort your logo. If you place your mouse cursor over one of the corners you will notice the diagonal arrows going in and out.
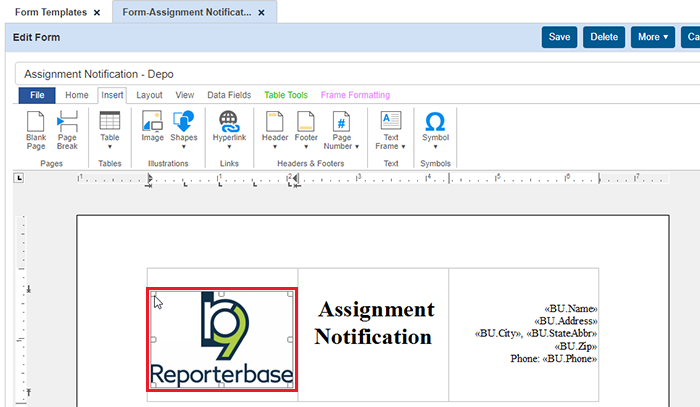
If you click and hold your left mouse button, you can enlarge or shrink the image keeping the same ratio.
Some other common features of the Insert menu include, headers, footers, and adding text frames.
Next, let’s talk about the Layout menu. These options affect the overall layout of the page.
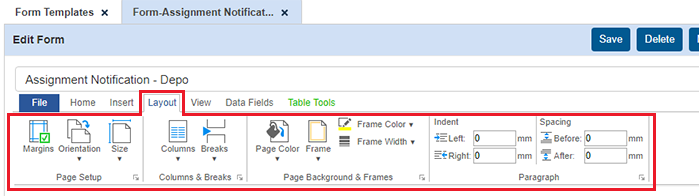
- Page Setup – For setting the margins, orientation, and paper size of the form.
- Columns and Breaks – For splitting text by columns, and also to manually set page breaks and section breaks.
- Page Background & Frames – For setting overall page color and frames around the page options. Frame options include which sides you want a frame to include, frame color, and frame width.
- Paragraph – For setting the indent and spacing of paragraphs.
The View menu controls what you’re seeing in the Form Templates function, when working with a form.
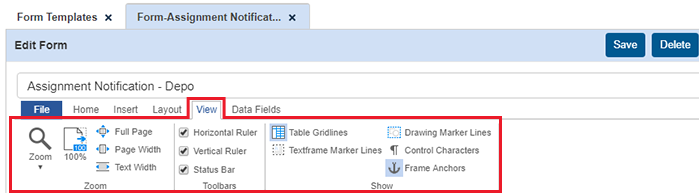
You can zoom in or set how large in percentage of view you can see. You can set rulers to see along the vertical and horizontal lines, as well as showing control characters.
-
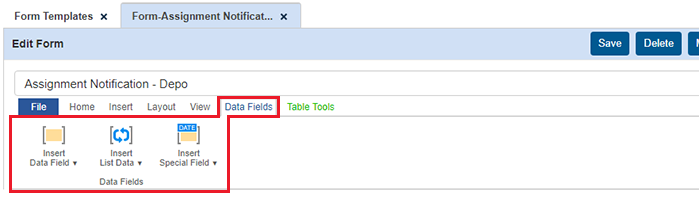
The Data Fields menu lets you add merge fields to the form. Merge fields are important because, when inserted into a form, real data from the job you’re sending the form for will automatically merge into the place of the field. You have the option to insert data fields, insert list data, and insert special fields as well.
Data fields pull data you input from a job, client, resource, or location setup. In our example, we’re editing our Assignment Notification form. That’s the form you email to assigned resources, so they know about the job they’re assigned to. If you input the job information into RB, that information should merge into the Assignment Notification form so you don’t have to manually re-key any of the job information.
- To add a merge field to a form, first point and click the left mouse button inside the form, where you want the merge field to appear.
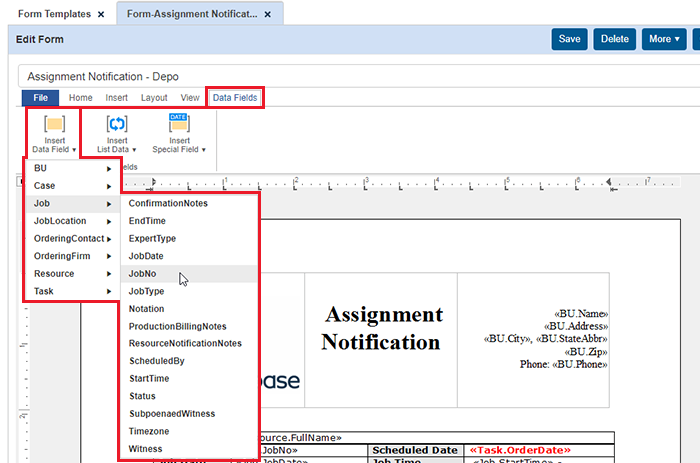
- Click Insert Data Field > and choose the category of merge field you need.
- Select individual merge fields available for the category you chose. Let’s say you want to add the job number merge field to the form. Click Insert Data Field > Job > JobNo. The merge field, <<Job.JobNo>> will appear at your insertion point.
- Repeat these steps to add any additional merge fields you require on your forms.
IMPORTANT: Essential fields to include in Confirmation/Notification/Cancellation form templates
-
If you use RB9 to schedule Zoom meetings — either as stand alone meetings or as hybrid meetings with some participants in person and some remote — there are 2 data fields you must add to your Job Confirmation and Assignment Notification form templates for them to include Zoom information:
- JobLocation > URL
- JobLocation > URLNotes
If you use different times for tasks from job times edit your Assignment Notifications/Cancellation form templates to use task time data fields. Add:
- Task > StartTime
- Task > EndTime
Also add the same data fields to Assignment Notification and Assignment Cancellation emails and text messages in System Preferences.
Some forms also give you the ability to add list data from the job setup as well. An example of this would be if you use job parties and requested services. Maybe an ordering contact on a job tells you some specific services they’re requesting, and you want to make sure your assigned resource knows about those. Set up the job party in RB, making sure to include the requested services in the party setup.
But how can you add those requested services to the Assignment Notification so your assigned resource can also see them? Use the Insert List Data option.
Click into the form where you want the list data to appear. Then click Insert List Data > Request Services.
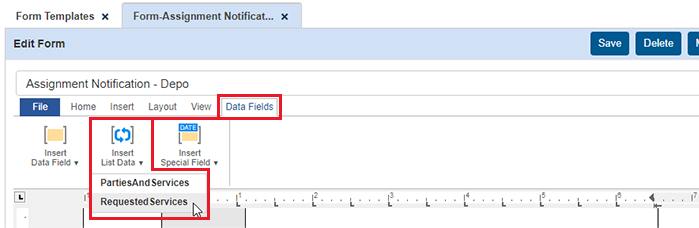
Adding this List Data to the form will show you all services and their units requested by the ordering contact on the job.
- One editing menu does not always appear. Table Tools only appears when you click inside of an existing table on the form. Or if you highlight a row, column, or an entire table.
In my example below, I highlighted an entire row of a table. Notice the Table Tools menu in green at the top.
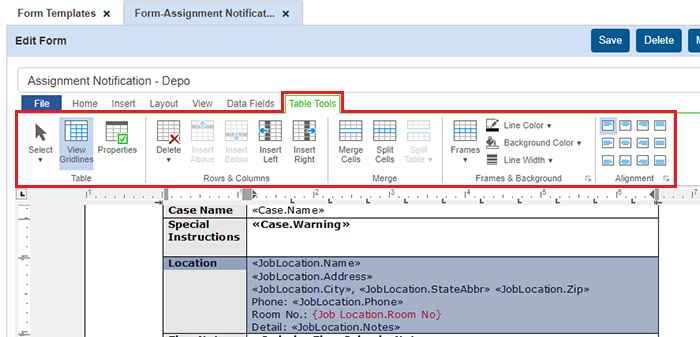
The tools in this menu control deleting rows and columns, inserting additional rows and columns, and setting the properties of frame lines in a table. Line property options include having the frames appear, their line colors, line width, and cell background colors.