
Assigning next-day jobs
If you didn’t pre-assign resources, assign your resources for tomorrow’s jobs after you’ve confirmed them.
Step-by-step instructions
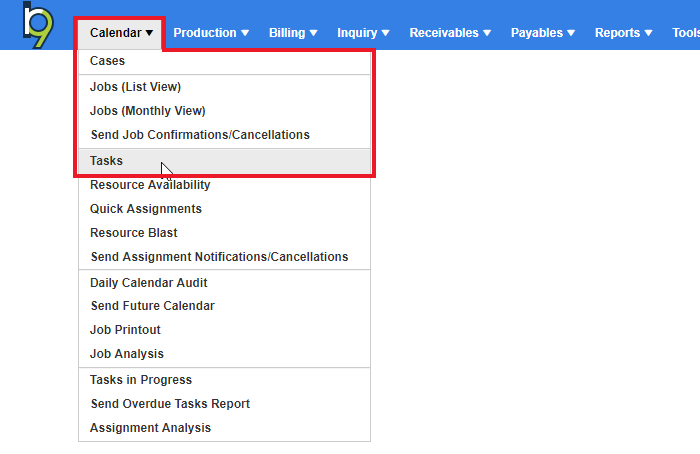
Click Calendar > Tasks.
The default date range is set to tomorrow so most of the time you only have to click
 (Search) here to see a list of tomorrow’s tasks.
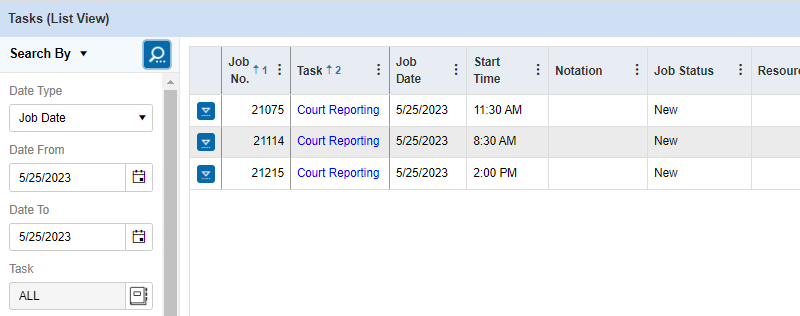
-
This function will list general job information for each Task needed. To begin assigning resources to your tasks, click on your first confirmed task link. Here you will see the task information by default, click Edit at the top so you can make some changes. Let’s assign a resource now. In the Tasks section, click
 (Lookup Resource) to the right of the Resource field.
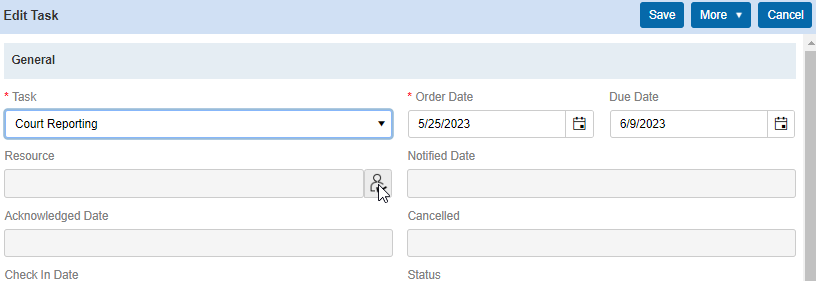
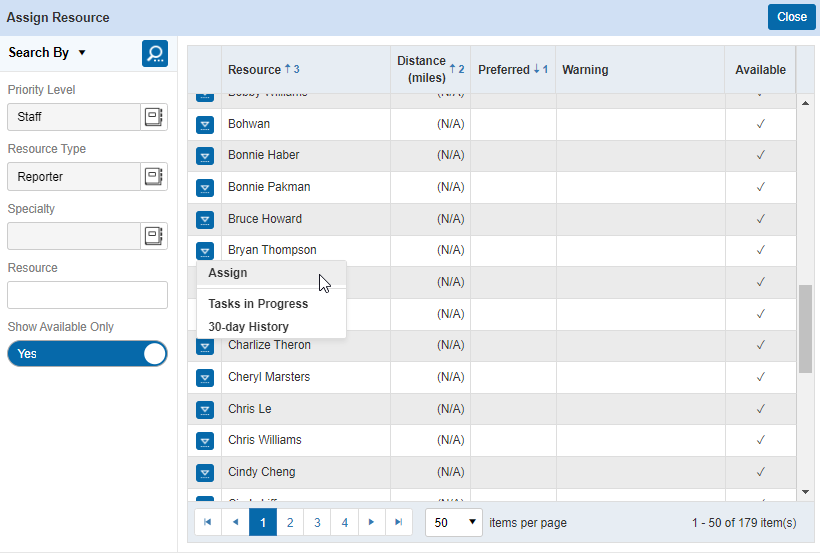
In the Assign Resource screen, RB9 will display all of the available resources based on your default search criteria.
You can change the Priority Level and Resource Type if the resource you want to assign does not appear in the default search results. It’s important to have all resources tied to a Priority Level and a Resource Type, so they become searchable when assigning.
Once you find the resource you want to assign, click on the drop-down arrow to the left of their name and select Assign.
After saving the assignment, RB9 will now ask you if you want to send the Assignment Notification to the assigned resource.
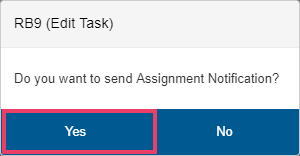
Click Yes to send out the Assignment Notification, or No if you do not want to send it out at this time. (You can send out notices all at once with Send Assignment Notifications/Cancellations.)
Click Save to close the Edit Task screen, and if you’re finished with this job, click Save > Save and Close to close it.
Repeat all steps to assign the rest of the jobs for tomorrow’s calendar.