Setting up your company information
Setting up your company information in RB is the first thing you should do when you receive your new RB system.
A company or revenue center in RB is called a Business Unit (BU). Depending on the size of your company, you could have just one main company or you could have multiple branch offices.
A Business Unit can be any entity within your company whose revenue you can track separately. This could be a different office, location, or internal division that you want to monitor independently from other segments of your company. The ability to create multiple Business Units allows you to track jobs and revenue at an individual BU level or all combined into one search.
Step-by-step instructions
To create your Business Unit in RB, click Entities > Business Units.

Click
 (Search) to display the default BU created by RB. You will notice there is no company name or address, as nothing has been previously set-up. Click on 1-MAIN to enter the BU setup.
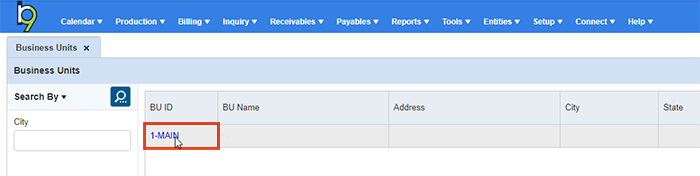
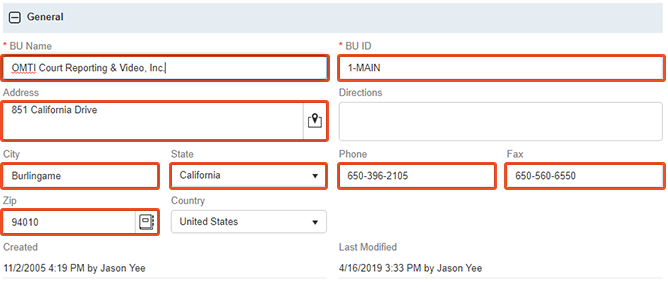
When you first enter the BU detail window, you will be in View Mode. Click Edit at the top right, and enter all of the general information for your company.
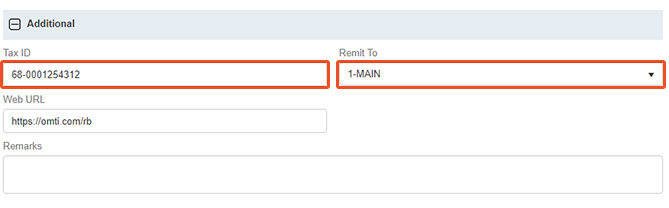
In the Additional section, add your Tax ID number and set your Remit To BU for invoices and statements. (If you want your payments sent to a different Remit To address, create a 2nd BU with the address you want to use, and select that BU here.)
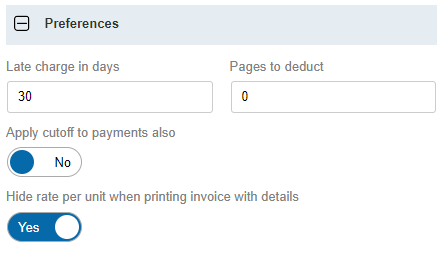
In the Preferences section, Late Charge in days refers to adding a one-time late fee to your clients’ invoices once they become so many days old. Specify the number of days you want that late fee to take effect.
The Apply cutoff to payments also option refers to agencies that pay their reporters once they’re paid for the invoices. If you select Yes, it means the payment must be posted in RB before or on the cutoff date of the payroll you are running.
Select Yes for the The Hide rate per unit when printing invoice with details if you you do not wish to display the billing rate for service items when you’re printing or sending an invoice with details showing.
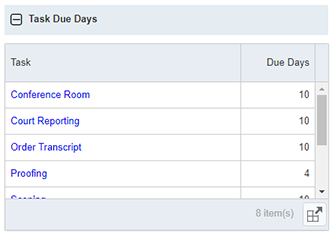
In the Task Due Days section, open your Tasks one by one and set the default number of days for each type. The default number of days refers to the number of days you give your resources to turn in their work for that task. The number set is used to calculate the Task Due Date when the Task type is selected in a job.
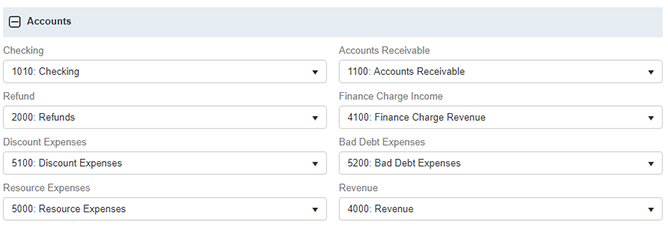
In the Accounts section, you can leave the default accounts set up by RB, or you can choose your own accounts if you set them up in Chart of Accounts (to set up your own Chart of Accounts, refer to the RB9 user guide).
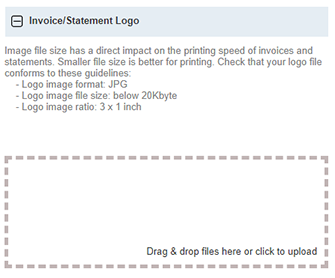
The Invoice/Statement Logo section is where you upload the jpg of your company logo that you want to appear on your invoices and statements. By default, RB will print your BU name, address and phone numbers in standard text. If you upload a logo here, the logo will replace that standard text to give your invoices and statements a custom appearance.
NOTE: The logo image replaces all standard text information, so if you want your address and phone numbers with your logo, have your logo image designed with that information built into the jpg. Make sure you follow the logo guidelines.
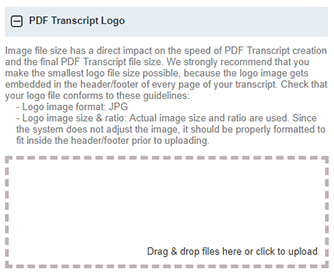
RB9 Standard only: The PDF Transcript Logo section is where you upload a company logo image to appear on your PDF Transcripts generated from RB9. Be sure to follow the guidelines stated.