Entering firms
A firm in RB9 terminology is an entity that you do business with. Examples of a firm would be a law firm, insurance company, government agency, and other court reporting agencies you network with. A firm must be created in RB9 before you can enter contacts, who are people who work at the firm or are otherwise associated with the firm.
NOTE: If you have an existing database of clients, we recommend importing them into RB9 using Bulk Import. If you are adding a new client, use the following procedure.
Step-by-step instructions
Let’s go through the process of entering a new firm and discuss the important fields. To access the Firms function, click on Entities > Firms.

As you enter firms, you might forget which ones you’ve already entered, so a good idea is to pull up all entries in the Firms function before entering a new firm to see if they are already in your database. Enter %%% in the Firm Name search criteria and click
 (Search). (“%%%” is the wildcard to pull up all firms.)
To begin the process of entering a new firm, click New at the top right. In the General section of the Firm setup, enter basic information, such as the firm name, address, and phone numbers.
If the firm wants to use a different billing address from the general address, set the Different Billing Address option to Yes and input the billing address information in that section. It is important to remember to only select Yes if you enter an address.
Warning is an important field, as anything you type in this section will appear in red to stand out. Warning can be important notes or reminders about this firm, anything that you want to make sure your staff are aware of. Nobody sees these warnings, except anyone accessing RB9, so you can really say anything here.
Select the Firm Type from the drop-down selection to specify what type of firm you are setting up (Refer to the RB9 User Guide, Lists > Firms to create your own drop-down options).

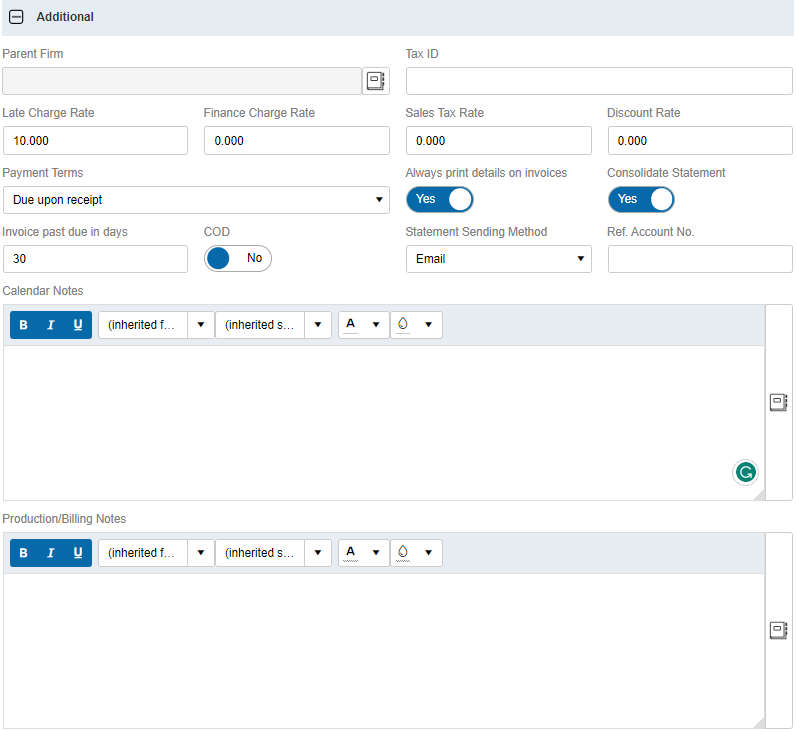
In the Additional section, here’s a breakdown of some of the important fields:
If you’re setting up a large firm that has multiple branch offices, you can designate the Parent Firm inside the set-up of each branch office. Click
 (Lookup Firm) and select the parent firm.
Late Charge Rate, Finance Charge Rate, Sales Tax Rate, and Invoice past due in days should be pre-populated with defaults. Those defaults come from your RB9 System Preferences > Entities setup.
Set the Payment Terms that will appear on the client’s invoice. TIP: If all or most of your clients are to have the same payment terms, go to Setup > Lists, and in Accounting, set the Payment Term you want as your default. (See RB9 User Guide, Lists > Accounting.) That way any new firm you create will automatically be set with the default from the Lists function.
Always print details on invoices refers to itemizing the invoice. If you select Yes, then this client will get a full breakdown on their invoices displaying all service items billed, units, rate, and total amounts. Leaving this option set to No will make it so that the itemizing of the invoice is based on what service items are set to show in the Billing Rates setup (refer to Entering billing & pay rates in the RB9 User Guide).
Consolidate Statement controls the firm’s statement printing. If you select Yes, then one statement will be created for the firm addressed to “Accounts Payable.” If you leave this set to No, then every Bill To contact at that firm will receive their own statement.
If you have a COD client, and all their invoices are to be marked COD, select Yes for the COD option.
Calendar Notes is great place to enter any specifics about the firm and how they are with their jobs. There could be firm particulars and these notes could be important for you and your staff to remember. You will see these notes when you’re scheduling a job for this firm.
Production/Billing Notes can be important notes that are needed as reminders during the turn-in process in RB9. When you create an invoice in RB9, you will see these Firm Production/Billing Notes.
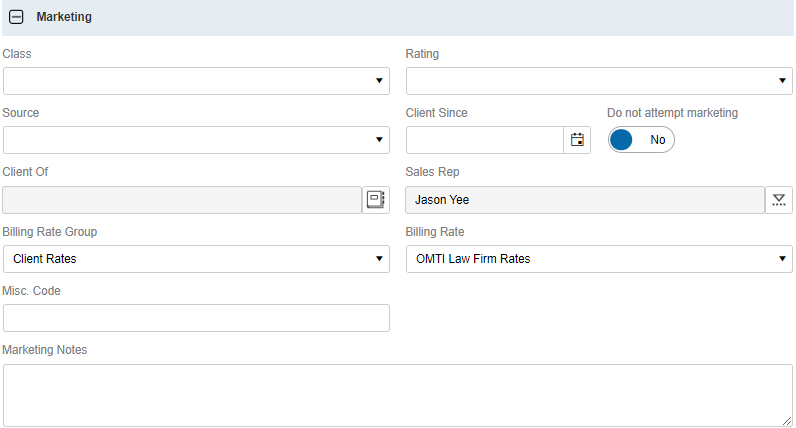
In the Marketing section, Client Of and Sales Rep are important fields. If you have resources that bring in clients, and the resources should receive commissions for the revenue generated on their clients’ jobs, you set the resource as Client Of. Only set them as the Client Of here if they receive commission for all contacts tied to the firm. If they do not get credit for the entire firm, leave Client Of blank here and set Client Of at the contact level.
If you have sales reps (account managers) that bring in clients, you can assign the Sales Rep to the firms they get credit for. Again, only set this field in the Firm setup if they get credit for the entire firm. If they only brought in specific contacts for the firm and only get credit for those, then you’ll tie the Sales Rep to individual contacts later.
NOTE: Setting Client Of and Sales Rep resources at the Firm level does not affect the jobs and invoices Client Of and Sales Rep resources will be tied to. RB9 is based on Client Of and Sales Rep for contacts. If you set the Client Of or Sales Rep at the Firm level, this is strictly for making them the default for new contacts for the firm. When creating contacts for this firm, the default Client Of or Sales Rep from the Firm level will automatically copy to all newly created contacts.
If you have a negotiated billing rate with this firm, and you’re always to bill them using that billing rate, you can select that billing rate in the Billing Rate field. The billing rate you select at the Firm level will automatically be copied to every new contact you create for this firm.
When you’re done setting up the firm, click Save > Save and Edit at the top. Once you click Save and Edit, a few more sections will appear.
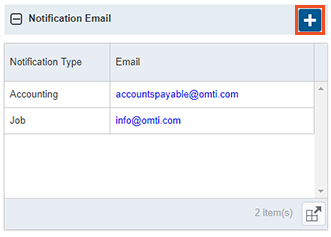
Click
 in the Notification Email section to add email addresses for 2 types of communications that can be sent from RB9:
- Accounting: This email address is used by RB9 if you set the firm’s statement option to Consolidated. If the firm is to receive a consolidated statement that is emailed, set Notification Type to Accounting and enter the address in Email.
- Job: This is for emailing the Future Calendar. If a client ever requests their future calendar be emailed to them, RB9 will use the email address added in this section for the Job Notification Type.
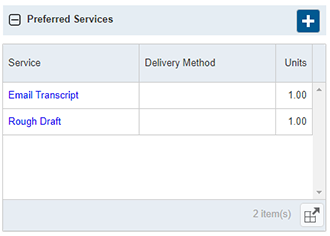
- The Preferred Services section is where you add service items that the firm always wants, i.e. a standing order. In our example below, we’ve added “Rough Draft” and “Email Transcript.” Any Preferred Services will be seen by the biller when billing a job for this firm using Prefill Services, so they don’t ever forget to add services to the invoice.
NOTE: Preferred Services is not something you’ll add at first. This requires your Service Item Master be set up in order to be able to add in this section. (Refer to Service Item Master in RB9 User Guide). Come back to this section after you’ve set up the Service Item Master.
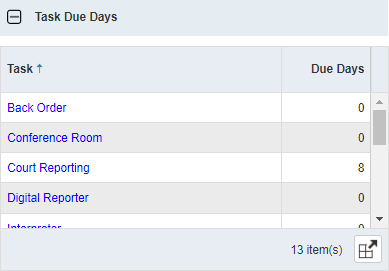
The Task Due Days section allows you to set the number of days each task is due to be turned in by your resources, that differs from the normal amount of days set up in your Business Units (BU). Only use this section if you need to distinguish different task due days at the firm level.
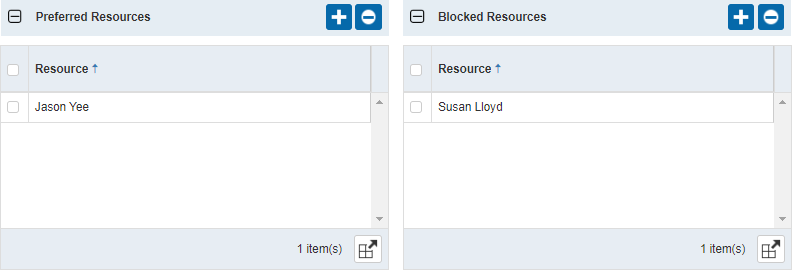
If the firm has resources they prefer to take their jobs, use the Preferred Resources section. Add resources here that the firm prefers and when assigning tasks for the firm’s jobs, the preferred resources will be listed first, if available.
If the firm has resources they do not want taking their jobs, use the Blocked Resources section. Any resource added to this section will not appear as available to assign to tasks for the firm’s jobs.
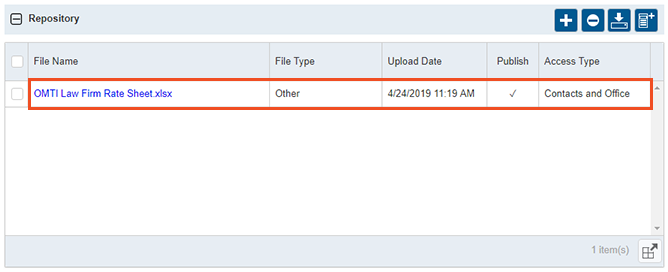
The last section we’re going to discuss is the Repository section. Every firm you add to RB9 has their own Repository section. If you have any important documents that pertain to the firm, upload and store those documents directly in the Firm setup. This makes it easy to find and download those documents.
An example of what you might upload to a Firm Repository would be a signed contract, or if you negotiated rates with this firm and you want to keep a copy of the rate sheet handy.