
Completing the job entry > Parties
The first section is Parties, where you can enter all parties associated with this job.
If you receive a notice from the client, one thing that notice will list is the involved parties. It’s good practice to add all the parties listed on the notice to the Parties section of the job. This way you have a record of those parties in RB9, and will give you advantages in RB9 later on as you perform Production and Turn-in.
Step-by-step instructions
To input a new party, click
 to the right of the section.
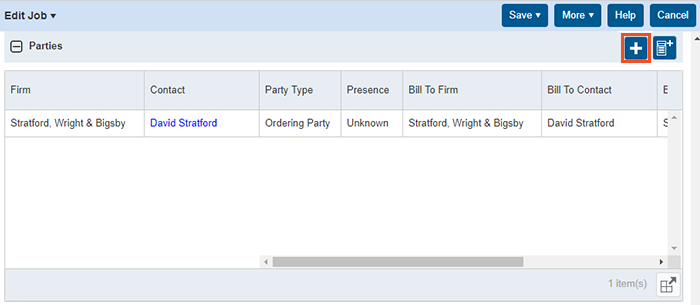
- In the Lookup Firm section that appears, search for the party. If the firm does not exist, click New at the top to enter them into RB9.
After selecting the firm, you’ll be taken to the New Party screen. First, select the Contact from the drop-down list. If the contact is not listed, create a new contact by clicking
 next to the drop-down list.
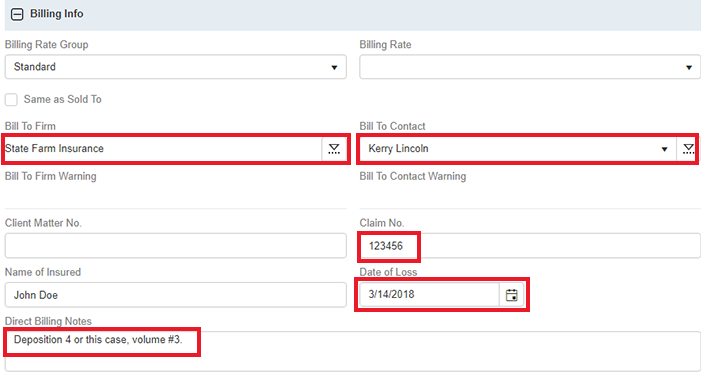
Scroll down to the Billing Info section. If you know the Billing Rate you will use when you bill this party, you can select that rate from the drop-down here. Then, if this party is prefilled from the job when creating their order, the billing rate will be tied to their invoice automatically and your biller won’t have to select it at the time of billing.
- Below the Billing Rate fields, is the Bill To section.
- If the client is to receive the bill when you create an invoice, then slide Same as Sold To to Yes.
- If they’re telling you the job is going to be billed to a 3rd party, then leave that option unchecked and click
 (Look up) next to the Bill To Firm field. That will allow you to search and select a different firm, usually an insurance company, and set that firm as the Bill To Firm.
- With the Bill To Firm set, set the Bill To Contact by clicking the drop-down next to the field and selecting the contact, who is usually the insurance adjuster. When billing an insurance company, you will need to add more detailed information that pertains to the case, so the insurance adjuster will know what the invoice pertains to. That’s where the Claim No., Name of Insured, Date of Loss and Direct Billing Notes fields will come into play. Whatever you input into those fields will automatically print on the invoice. Client Matter No., which is a number designating the client combined with a number designating the case, and Client ID for LEDES 1998B, which is the party’s ID number, are both used for electronic billing.
-
Once you’re done setting up the new party, click Save > Save and Close. Repeat these steps to create more job parties if needed.
The next section of the Edit Job screen is Specialties, where you enter any special skills, traits, or requirements the resource assigned will need for the job.
If the job does not require any specialties, skip to Tasks to enter parts of the job that require a separate resource (person, company, thing) to accomplish.