
Sending schedule confirmations
At some point during the day you’ll want to send your clients Acknowledgements of Scheduling, AKA job confirmations. These would be courtesy emails you’re sending to your clients to let them know you have added their requested jobs to your calendar.
You have 2 options for when to send out job confirmations:
As you go option
If you choose to send job confirmations as you go, send the confirmation before entering non-urgent information into the job.
Step-by-step instructions
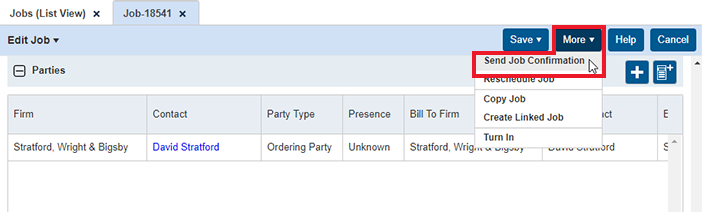
- Right after you create a job by entering all of the important job information and clicking Save, click More > Send Job Confirmation.
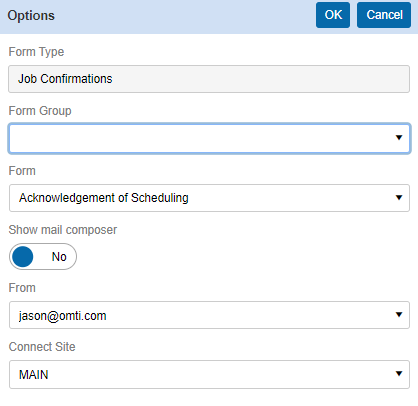
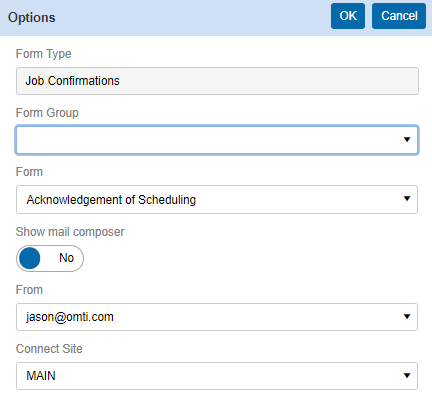
Before sending out the email, select the Form from the drop-down menu.
If you want to see the email before it goes out, slide Show mail composer to Yes (This can be set by default in User Preferences).
From will display the default email account tied to your user account. If you have multiple email accounts set up, you can select a different one from your list here.
- When you’re ready to proceed, click OK.
At this point, if you do not show the mail composer, the email will go out and you will return to the job screen automatically.
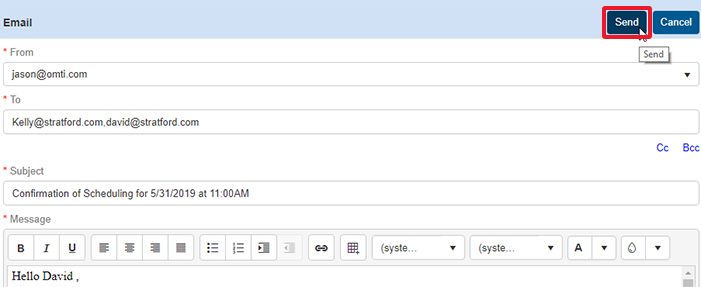
If you did select the Show the mail composer option, you will see a preview of the email. You can make changes to this email, and when ready to send it out, click Send.
All at once option
If you want to send your clients job confirmations for all jobs entered in one day, at the end of the day in one batch, use this method. If you plan to send job confirmations in one batch at the end of the day, you can enter non-urgent job information before or after you send out job confirmations.
Step-by-step instructions
-
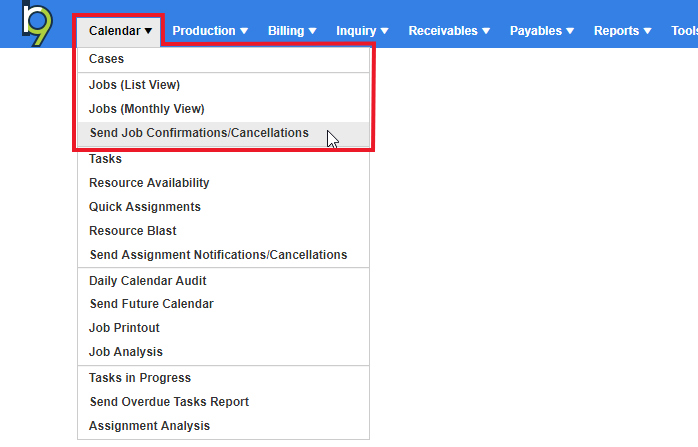
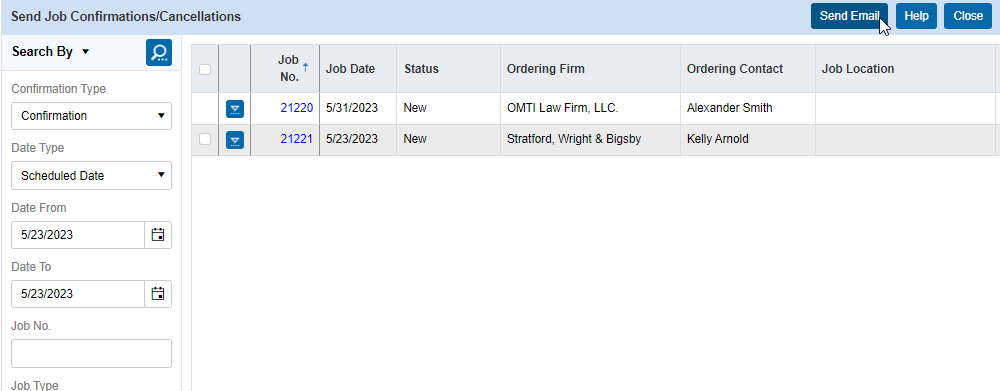
At the end of the day, after all jobs have been entered into RB9, click Calendar > Send Job Confirmations/Cancellations.
When the function opens, Date Type defaults to “Scheduled Date,” and the date defaults to today. So the search criteria is set to show you jobs that were scheduled today. You do not need to change anything here; click
 to display the jobs.
- Select all the jobs displayed by clicking the checkbox in the top-left corner of the results. (If some jobs do not have an available checkbox to check, that means there is no email address designated in the Contact setup to receive job confirmations.)
Click Send Email.
Before sending out the emails, select the Form from the drop-down menu in the Options popup.
If you want to see the emails before they go out, slide Show mail composer to Yes (This can be set by default in User Preferences).
From will display the default email account tied to your user account. If you have multiple email accounts set up, you can select from your list here.
When you’re ready to proceed, click OK.
At this point, if you do not show the mail composer, the emails will go out and you will return to the main RB9 screen automatically.
If you did select the Show the mail composer option, you will see a preview of the first email. You can make changes to this email, and when ready to send it out, click Send.
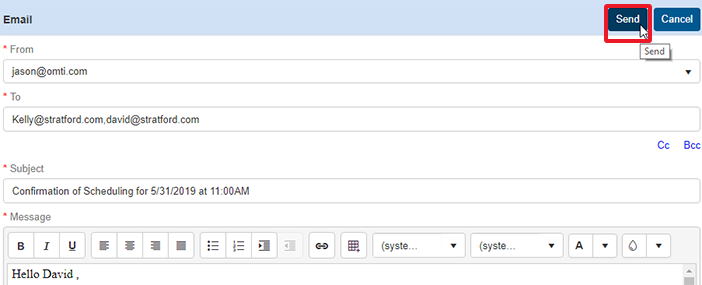
After that, the next Job Confirmation preview will appear. Review and send. Repeat with any remaining emails.