Setting system preferences > Payables
In the Payables section, set options for resource pay.
Step-by-step instructions
In Setup > System Preferences, click Payables.
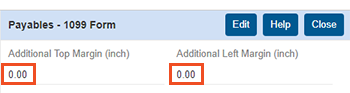
RB9 Standard only: Click 1099 Form, then Edit to customize printing 1099-NEC forms.
In RB9, you have the ability to print each resource’s 1099 directly from the system. RB9 is designed to print in the correct fields on the 1099-NEC forms (form for reporting payments to independent contractors replacing 1099-MISC starting with 2020 filings). Enter measurements in inches to increase the margins, top and left, if needed to align the RB9 output with the 1099 form’s fields. Click Save.
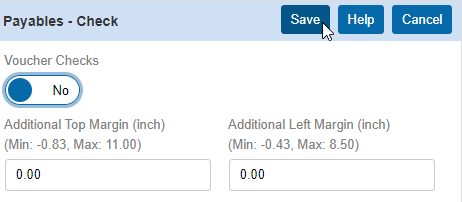
RB9 Standard only: Click Check, then Edit to customize printing paychecks from RB9.
In RB9, after you close payroll you have the option of printing checks directly from RB9 using the Print Checks function. You can use Quickbooks-compatible laser checks (standard or voucher).
If you plan on using voucher checks, set Voucher Checks to Yes.
Enter measurements in inches in the Additional Top Margin and Additional Left Margin fields to increase the margins if needed to align the RB9 output with the check’s fields. Click Save.
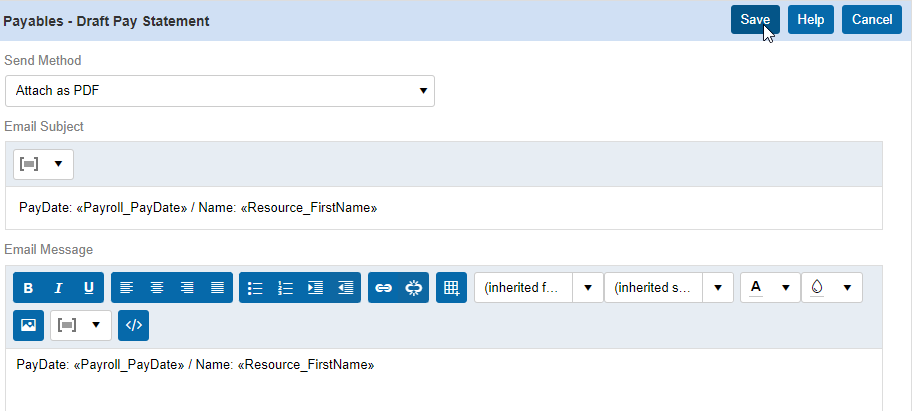
Click Draft Pay Statements, then Edit to set the default email settings if you plan on sending resources a draft of their upcoming pay statements before you close the payroll. Set the Email Subject and Email Message, and click their drop-down arrows (
 ) to insert merge fields.
Send Method is not editable. The actual draft pay statement will attach to the email as a PDF. Click Save.
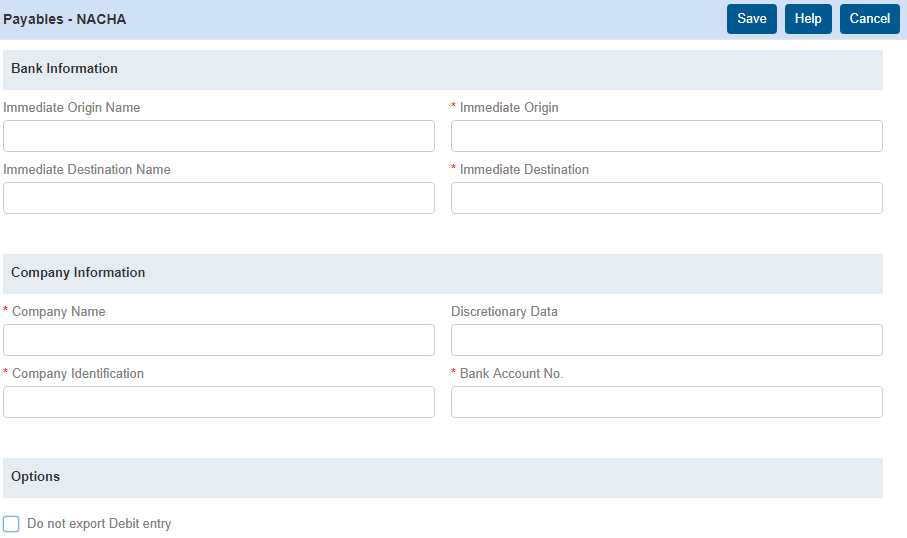
RB9 Standard only: Click NACHA, then Edit if you will be paying your resources using direct deposit. If you use direct deposit through your bank, and not a payroll service, this tab will be useful for you. Gather all of the information shown in the image below from your banker, so you can input it like in the example shown. Click Save.
Click Pay Statement, then Edit to set up emails that are sent to resources with their pay statements. After you run payroll in RB and close it, you will email your resources their pay statements, which is the report that shows them exactly what invoices they were paid for on a closed payroll.
Set the Email Subject and Email Message, and click their drop-down arrows (
) to insert merge fields. Send Method is not editable. The pay statement will attach to the email as a PDF. Click Save.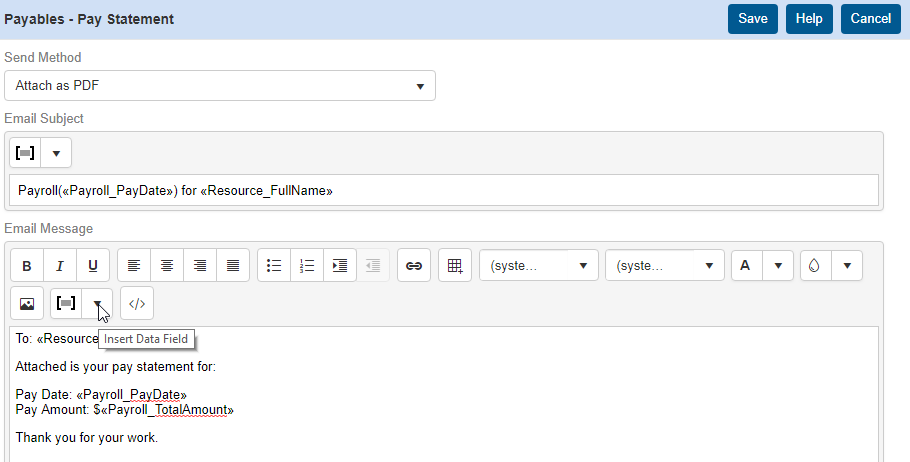
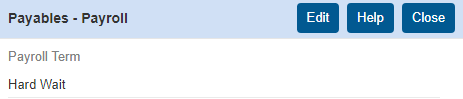
Click Payroll, then Edit to set your payroll term.
“Hard Wait” refers to running payroll and having your resources wait to get paid after a certain amount of days. If I set my Original Term and Copy Terms for resources to 14, Hard Wait will make RB wait those 14 days before releasing invoices to the resources when running payroll.
“Soft Wait” refers to running payroll and having your resources wait to get paid after a certain amount of days, but there is an exception. If you receive payment for an invoice within the wait period set for the Original Term and Copy Term, then RB will release the invoice to the resource in the next payroll you run. That means the payroll can be within the 14-day wait period, and RB9 will still release the invoice to the resource on that payroll.
Hard Wait waits the number of days no matter what, before releasing the invoice for payroll; Soft Wait will release the invoice early if paid early. Click Save.