Setting system preferences > Production
Set preferences for Production tasks, such as shipping via FedEx and UPS, and logging file downloads. RB9 has the ability to create and print shipping labels directly from the Shipping function. This makes shipping more efficient because you will no longer have to leave RB9 to perform this task. There is some setup involved, but we provide you with detailed instructions that will guide you through the setup.
Step-by-step instructions
In Setup > System Preferences, click Production.
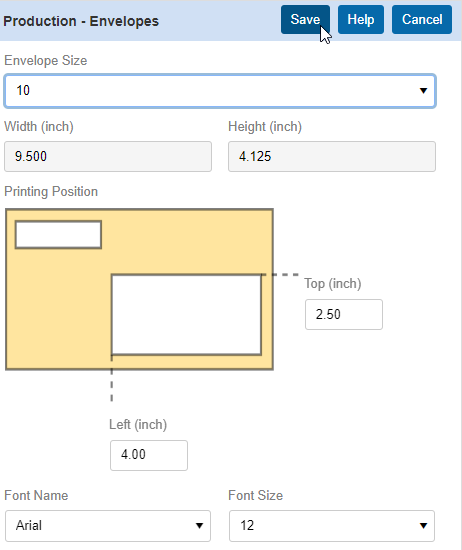
RB9 Standard only: Click Envelopes, then click Edit if you need to adjust your envelope defaults.
You can choose a different default envelope in the Envelope Size drop-down. If you choose Custom, then enter new measurements in the Width (inch) and Height (inch) fields.
Adjust where the address prints on envelopes by entering new measurements in the Printing Position Top (inch) and Left (inch) fields.
Customize address appearance by selecting a font in the Font Name and size in the Font Size drop-downs.
Click Save.
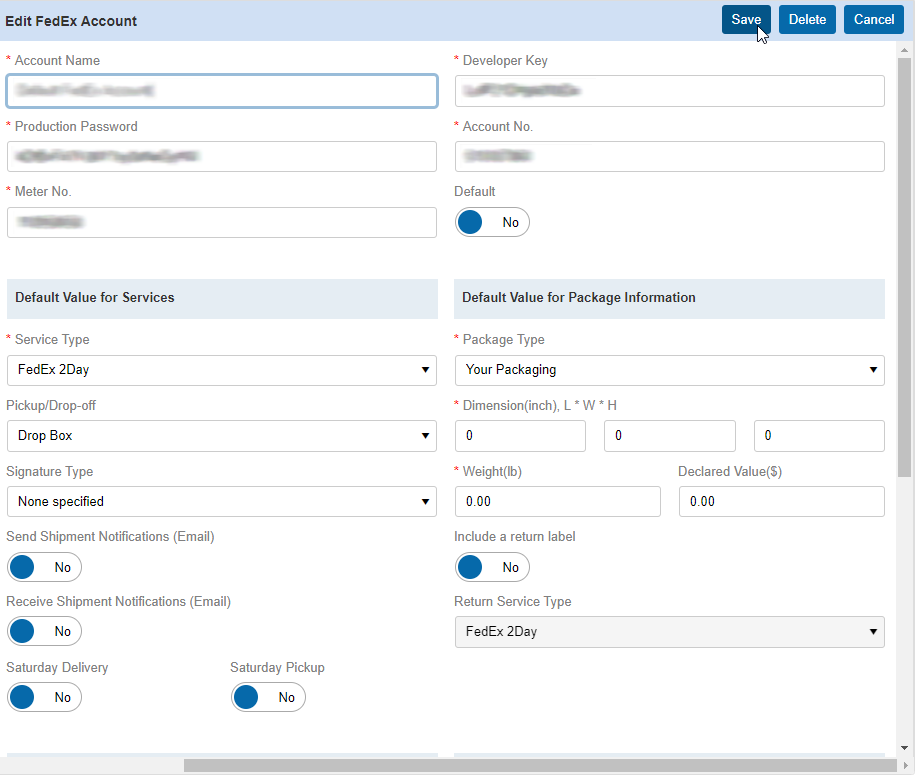
RB9 Standard only: Click FedEx Accounts for Shipping Labels, then click Edit if you use FedEx to ship out your packages.
To obtain the information you need to input into RB9, click here for the step-by-step instructions to get FedEx Key information for printing FedEx shipping labels from our KnowledgeBase.
Once you’ve gone through steps and obtained all the necessary information, click New and input all the required fields, then click Save. If you need to ship from multiple FedEx accounts, you can repeat these steps to add more.
RB9 Standard only: Click Repository, then click Edit if you want to adjust some repository options.
For the Set Publish checked as a default on New Upload screen option, set Yes if you want all repository files uploaded to be automatically published to RB Connect.
If you want to track file downloads in RB9, set the Logging options to Yes. You can keep track of internal usage, contact downloads, and resource downloads. Turn on the options that are important for you to track. Best practice would be to set all the options to Yes. Click Save.

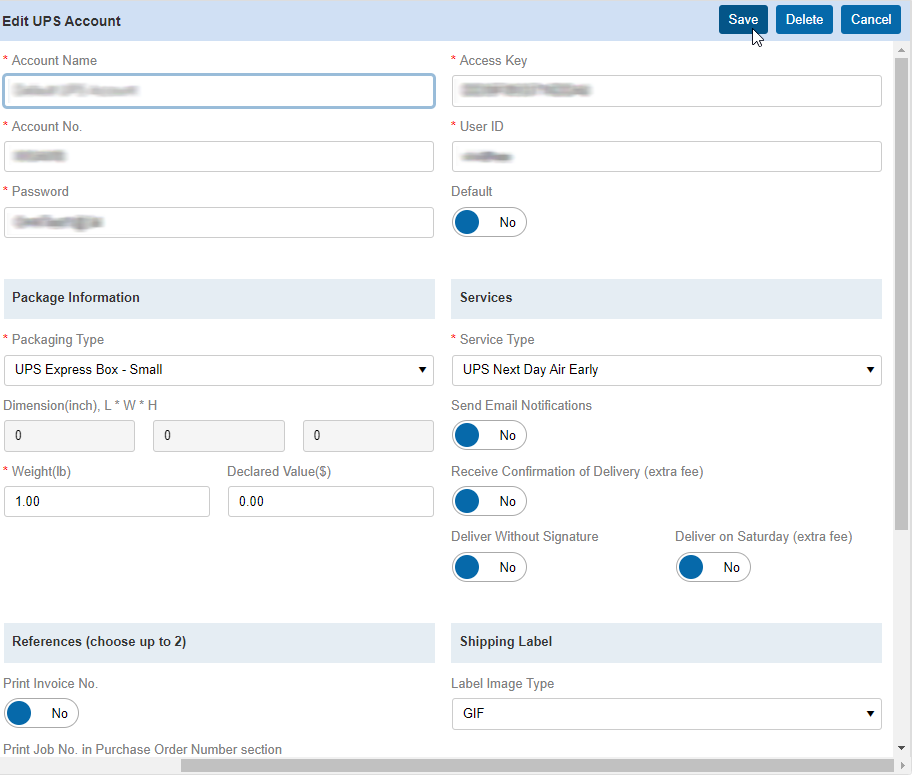
RB9 Standard only: Click UPS Accounts for Shipping Labels, then click Edit if you use UPS to ship out your packages. For detailed instructions on how to set up this section, click here for the step-by-step instructions to get UPS Access Key for printing UPS shipping labels from our KnowledgeBase.
Once you’ve obtained the necessary information, click New and input all required fields for the UPS setup, then click Save. If you need to ship from multiple UPS accounts, you can repeat these steps to add more.